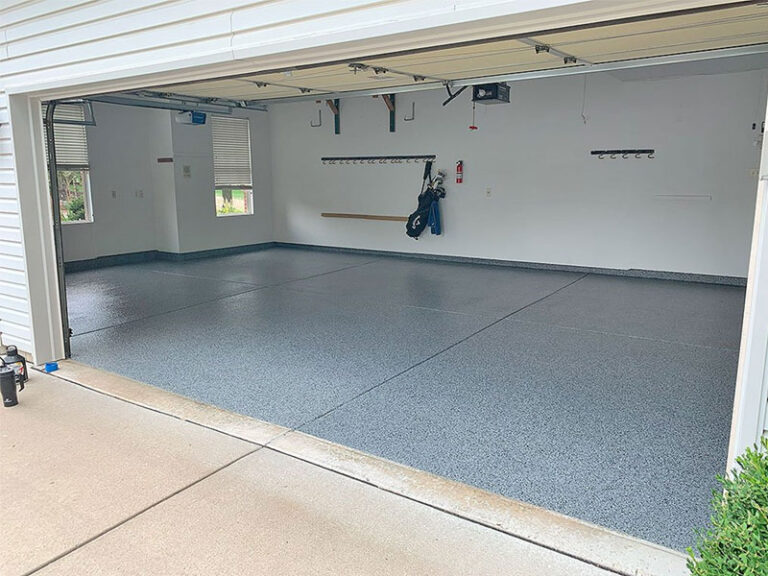
Los suelos epoxi son la mejor opción para los suelos de garajes: son duraderos, resistentes a las manchas y ofrecen un acabado brillante y profesional. Sin embargo, una aplicación incorrecta puede provocar desconchados, burbujas o una vida útil más corta. Esta guía le enseñará cómo aplicar epoxi al suelo del garaje correctamente, cubriendo preparación, aplicación paso a paso, errores comunes y consejos de mantenimiento para un resultado duradero y de calidad profesional.
1. ¿Por qué elegir epoxi para el suelo de su garaje?
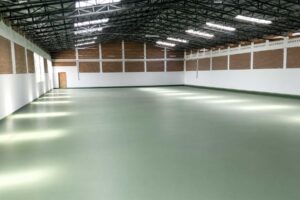
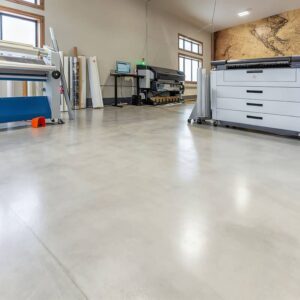
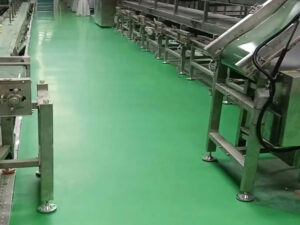
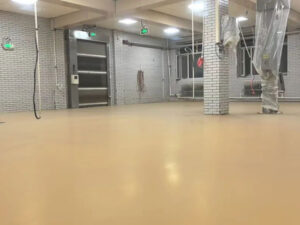
El suelo epoxi es mucho más duradero que la pintura normal o el hormigón desnudo, por lo que es ideal para suelos de garaje muy transitados, manchados de aceite y expuestos a productos químicos.
1.1 Ventajas de los suelos epoxi
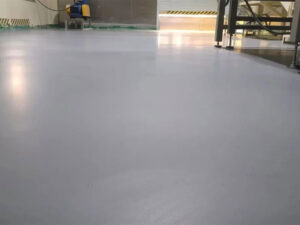
✅ Durabilidad extrema - Resiste el tráfico de vehículos, las herramientas pesadas y los impactos (dura más de 10 años).
✅ Resistencia a aceites y productos químicos - Sella la superficie, evita las manchas y facilita la limpieza.
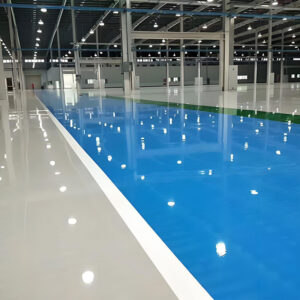
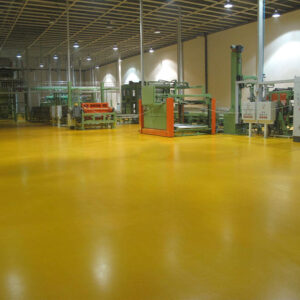
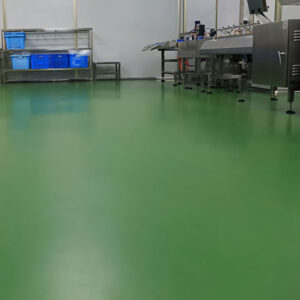
✅ Aspecto personalizable - Disponible en colores, acabados metálicos y aditivos antideslizantes.
✅ A prueba de polvo y humedad - Sella los poros del hormigón, reduciendo el polvo y la humedad.
1.2 Pintura epoxi frente a pintura normal para suelos de garaje
| Característica | Revestimiento epoxi | Pintura normal |
|---|---|---|
| Durabilidad | ⭐⭐⭐⭐⭐ | ⭐⭐ |
| Resistencia a las manchas | ⭐⭐⭐⭐⭐ | ⭐⭐ |
| Vida útil | 10-20 años | 1-3 años |
| Dificultad de aplicación | Moderado | Fácil |
Conclusión: Para un rendimiento a largo plazo, el epoxi es la mejor opción.
2. Preparación: Lista de control de herramientas y materiales
2.1 Herramientas esenciales
- Herramientas de preparación de superficies:
- Hidrolimpiadora / Escoba y aspiradora
- Amoladora de hormigón (para suelos dañados)
- Ácido fosfórico o solución de grabado (para una mejor adherencia)
- Herramientas de aplicación:
- Kit de epoxi (sólidos 100% recomendados)
- Rodillo de 18 mm (para epoxi)
- Rasqueta, cepillos (para bordes)
- Cinta de pintor (para proteger las paredes)
- Aditivo antideslizante (opcional)
2.2 Equipo de seguridad
- Mascarilla respiratoria (para humos)
- Gafas de seguridad y guantes de goma
- Mangas largas y calzado antideslizante
3. Guía paso a paso: Cómo aplicar epoxi al suelo del garaje
3.1 Paso 1: Limpieza a fondo del suelo
❌ Error: Omisión de la limpieza → Mala adherencia y descascarillado.
✅ Solución:
- Desengrasar: Utilice limpiador TSP para las manchas de aceite.
- Lavado a presión: Elimine la suciedad y los residuos.
- Compruebe la humedad: Pegue la lámina de plástico durante 24 horas (sin condensación = seguro).
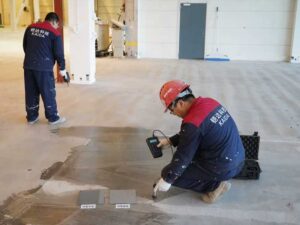
3.2 Paso 2: Grabar o esmerilar el hormigón
- Por desgaste menor: Utilice grabador ácido (siga las instrucciones, enjuague después de 10 minutos).
- Para suelos dañados: Amoladora de diamante para una mejor adherencia.
3.3 Paso 3: Reparación de grietas
- Rellene las grietas con compuesto de parcheo epoxi y, a continuación, lije.
3.4 Paso 4: Aplicar imprimación (si es necesario)
- Algunos epoxis requieren imprimación: aplique una capa uniforme y deje secar de 4 a 6 horas.
3.5 Paso 5: Mezclar el epoxi
⚠️ Consejo clave:
- Mezclar Parte A (resina) + Parte B (endurecedor) con precisión (3-5 minutos removiendo).
- Trabaje en lotes pequeños (el epoxi cura rápido).
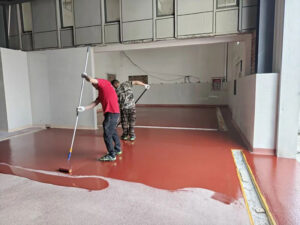
3.6 Paso 6: Aplicar la capa de epoxi
- Bordes recortados con un pincel.
- Epoxi extendido con una rasqueta y, a continuación, pase el rodillo uniformemente (evite las capas gruesas).
- Añadir gravilla antideslizante (opcional) mientras está húmedo.
3.7 Paso 7: Aplicar la capa de acabado (opcional)
- Después de 24 horas, añada una capa de acabado de poliuretano para una mayor durabilidad y brillo.
4. Errores comunes y cómo evitarlos
❌ Error 1: Omitir la preparación de la superficie → Descamación
✅ Arréglalo: Siempre limpie, grabe o esmerile primero.
❌ Error 2: Aplicar en tiempo frío/húmedo → Curado deficiente
✅ Arréglalo: Temperatura ideal: 60-85°F, humedad <70%.
❌ Error 3: Aplicación demasiado gruesa → Burbujas y secado desigual
✅ Arréglalo: Mantenga las capas por debajo de 2 mm; dos capas finas > una gruesa.
5. Mantenimiento de suelos de garaje epoxi
- Tiempo de curado: 24h (a pie), 7 días (aparcamiento).
- Limpieza: Limpiador con pH neutro + mopa suave (sin abrasivos).
- Inspección: Reaplicar la capa de acabado cada 1-2 años si se usa.
6. Preguntas más frecuentes (FAQ)
P1: ¿Cuánto dura el epoxi para suelos de garaje?
A: 10-20 años con la preparación y los cuidados adecuados.
P2: ¿Puedo aplicar epoxi sobre hormigón viejo?
A: Sí, pero primero limpie, repare las grietas y grabe.
P3: ¿Es resbaladizo el epoxi cuando está mojado?
A: Añada aditivos antideslizantes o elija un acabado mate.
7. Reflexiones finales
Aprender cómo aplicar epoxi al suelo del garaje garantiza correctamente una duradero, brillante y fácil de limpiar superficie. Siga estos pasos para obtener resultados profesionales.
¿Has probado este proyecto de bricolaje? Comparte tus fotos del antes y el después.