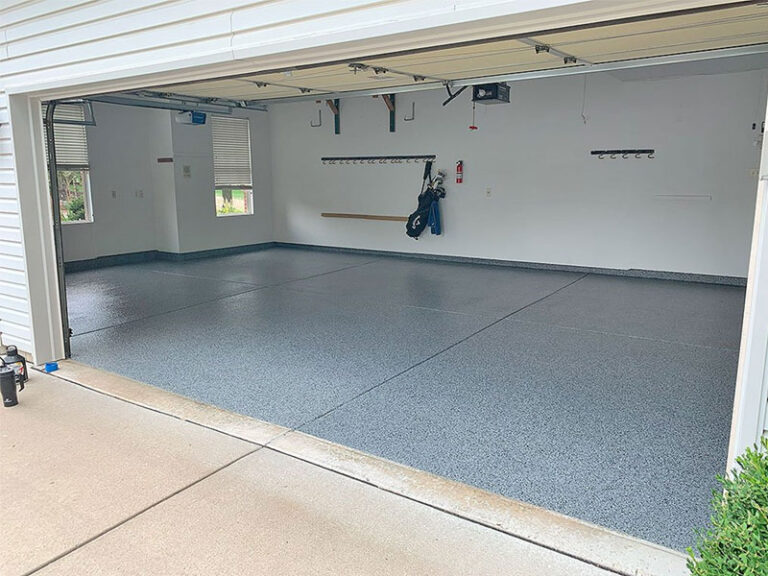
Epoxigolv är det bästa valet för garagegolv - det är slitstarkt, fläckbeständigt och ger en blank, professionell finish. Felaktig applicering kan dock leda till avskalning, bubblor eller kortare livslängd. I den här guiden får du lära dig hur man applicerar epoxi på garagegolv korrekt, täcker förarbete, steg-för-steg-användning, vanliga misstag och underhållstips för ett långvarigt resultat av professionell kvalitet.
1. Varför välja epoxi för ditt garagegolv?
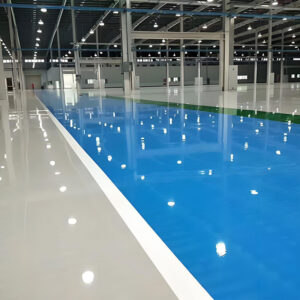
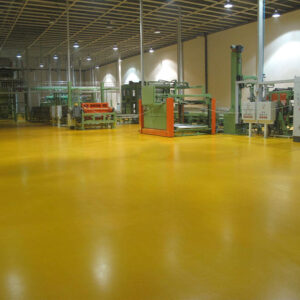
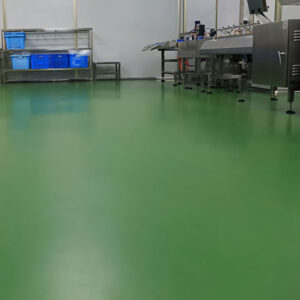
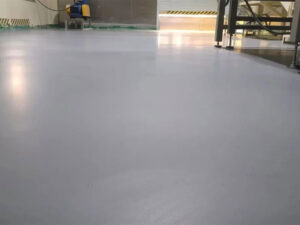
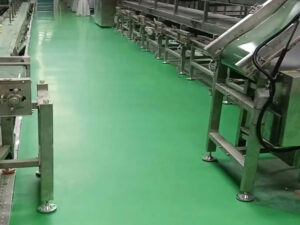
Epoxigolv är mycket mer hållbart än vanlig färg eller ren betong, vilket gör det idealiskt för högtrafikerade, oljefläckade och kemikalieexponerade garagegolv.
1.1 Fördelar med epoxigolv
✅ Extrem hållbarhet - Motstår fordonstrafik, tunga verktyg och stötar (håller i 10+ år).
✅ Olje- och kemikaliebeständighet - Förseglar ytan, förhindrar fläckar och gör rengöringen enkel.
✅ Anpassningsbart utseende - Finns i färger, metallic-finish och med halkskyddande tillsatser.
✅ Damm- och fuktsäker - Förseglar betongporer och minskar damm och fukt.
1.2 Epoxi kontra vanlig färg för garagegolv
| Funktion | Epoxibeläggning | Vanlig färg |
|---|---|---|
| Hållbarhet | ⭐⭐⭐⭐⭐ | ⭐⭐ |
| Motståndskraft mot fläckar | ⭐⭐⭐⭐⭐ | ⭐⭐ |
| Livslängd | 10-20 år | 1-3 år |
| Svårighet att tillämpa | Måttlig | Lätt |
Slutsats: För långsiktig prestanda är epoxi det bästa valet!
2. Förberedelser: Checklista för verktyg och material
2.1 Viktiga verktyg
- Verktyg för ytpreparering:
- Högtryckstvätt / Kvast & dammsugare
- Betongslipmaskin (för skadade golv)
- Fosforsyra eller etsningslösning (för bättre vidhäftning)
- Applikationsverktyg:
- Epoxisats (100% fast substans rekommenderas)
- 18 mm luggfri rulle (för epoxi)
- Skrapa, borstar (för kanter)
- Målartejp (för att skydda väggarna)
- Halkbekämpande tillsats (tillval)
2.2 Säkerhetsutrustning
- Andningsmask (för ångor)
- Skyddsglasögon och gummihandskar
- Långa ärmar och halkfria skor
3. Steg-för-steg-guide: Hur man applicerar epoxi på garagegolv
3.1 Steg 1: Rengör golvet på djupet
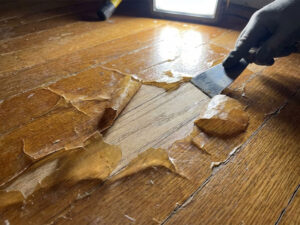
❌ Misstag: Utebliven rengöring → dålig vidhäftning och avskalning.
✅ Lösning:
- Avfettning: Använd TSP-rengöringsmedel på oljefläckar.
- Högtryckstvätt: Avlägsna smuts och skräp.
- Kontrollera fukthalten: Tejpa plastskivan i 24 timmar (ingen kondens = säkert att fortsätta).
3.2 Steg 2: Etsa eller slipa betongen
- För mindre slitage: Använd syrabaserad etsning (följ anvisningarna, skölj efter 10 minuter).
- För skadade golv: Diamantslipning för bättre vidhäftning.
3.3 Steg 3: Reparera sprickor
- Fyll sprickor med epoxilackeringsmedel och slipa sedan jämnt.
3.4 Steg 4: Applicera primer (vid behov)
- Vissa epoxier kräver primer - rolla jämnt och låt torka 4-6 timmar.
3.5 Steg 5: Blanda epoxin
⚠️ Viktigt tips:
- Blanda Del A (harts) + Del B (härdare) exakt (3-5 min under omrörning).
- Arbeta i små satser (epoxi härdar snabbt!).
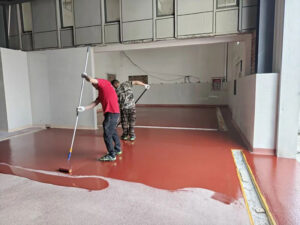
3.6 Steg 6: Applicera epoxibeläggningen
- Inskurna kanter med en borste.
- Stryk ut epoxi med gummiskrapa och rulla sedan jämnt (undvik tjocka lager).
- Lägg till halkskyddande grus (tillval) medan den är våt.
3.7 Steg 7: Applicera topplack (valfritt)
- Efter 24 timmar kan du lägga på en topplack av polyuretan för extra hållbarhet och glans.
4. Vanliga misstag och hur man undviker dem
❌ Misstag 1: Hoppa över förberedelser av ytan → Skalning
✅ Fixa: Rengör, etsa eller slipa alltid först!
❌ Misstag 2: Ansöka i kallt eller fuktigt väder → Dålig härdning
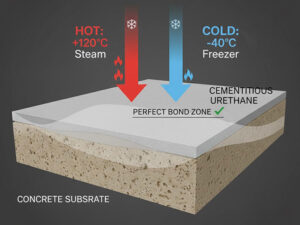
✅ Fixa: Idealisk temperatur: 60-85°F, luftfuktighet <70%.
❌ Misstag 3: För tjock applicering → Bubblor och ojämn torkning
✅ Fixa: Håll lagren under 2 mm; två tunna lager > ett tjockt lager.
5. Underhåll av epoxigolv i garage
- Härdningstid: 24 timmar (gång), 7 dagar (parkering).
- Rengöring: pH-neutralt rengöringsmedel + mjuk mopp (inga slipmedel).
- Inspektion: Återapplicera topplacket vart 1-2 år om det är slitet.
6. Vanliga frågor och svar (FAQ)
F1: Hur länge håller epoxi för garagegolv?
A: 10-20 år med rätt förberedelser och skötsel.
F2: Kan jag applicera epoxi på gammal betong?
A: Ja, men rengör, laga sprickor och etsa först.
F3: Är epoxi hal när den är våt?
A: Lägg till halkskyddsmedel eller välj en matt finish.
7. Avslutande tankar
Lärande hur man applicerar epoxi på garagegolv korrekt säkerställer en slitstark, glansig och lätt att rengöra yta. Följ dessa steg för ett professionellt resultat!
Har du testat detta DIY-projekt? Dela med dig av dina före- och efterbilder!