Praktik terbaik untuk memasang lantai poliuretan di ruang bersih farmasi melibatkan proses multi-fase yang ketat yang berfokus pada pencapaian permukaan yang mulus, tahan lama, dan patuh yang dapat menahan paparan bahan kimia, memfasilitasi pembersihan yang mudah, dan mempertahankan standar kebersihan yang ketat sesuai dengan peraturan FDA, GMP UE, dan ISO 14644. Hal ini mencakup persiapan subfloor yang cermat, kontrol lingkungan yang ketat, penerapan sistem khusus yang mulus seperti mortar uretan atau poliuretan yang dapat meratakan sendiri, dan validasi kinerja akhir melalui pengujian daya rekat dan konduktivitas. Panduan ini akan merinci langkah-langkah penting, mulai dari perencanaan awal dan persiapan subfloor lantai untuk kamar bersih hingga pemasangan dan validasi lantai GMP akhir, memastikan proyek yang sukses untuk setiap persyaratan lantai kamar bersih farmasi.
1. Mengapa Poliuretan Menjadi Pilihan Utama untuk Lantai Ruang Bersih Farmasi?
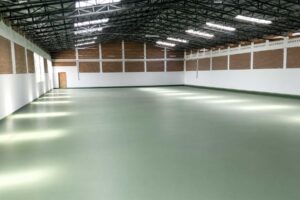
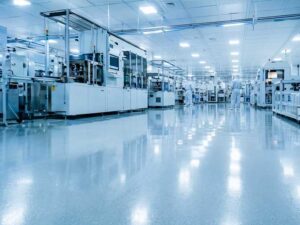
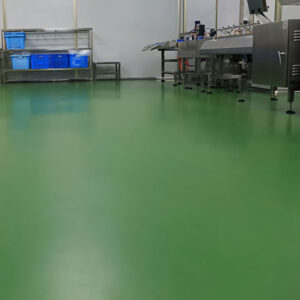
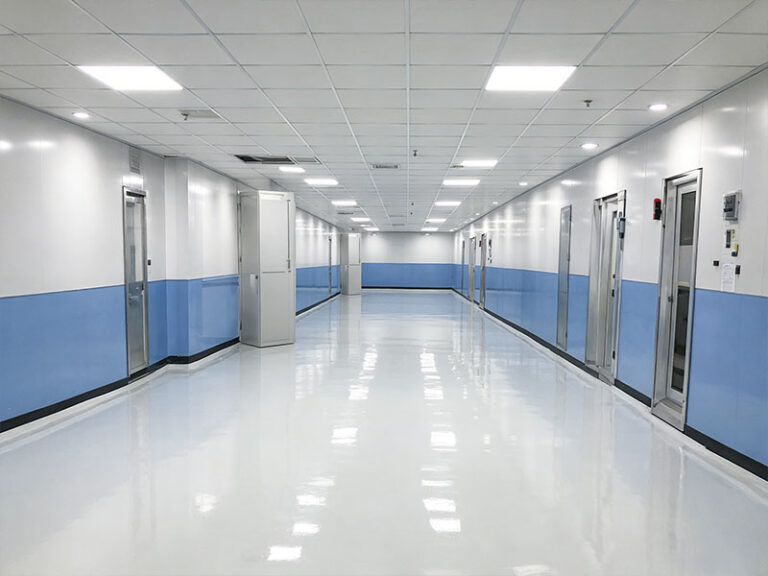
Sistem lantai poliuretan menawarkan kombinasi unik dari sifat-sifat yang selaras dengan lingkungan yang menuntut dari ruang bersih farmasi. Tidak seperti bahan lain, poliuretan memberikan permukaan monolitik (tanpa sambungan) yang secara inheren higienis dan mudah dibersihkan. Keuntungan utama yang membuatnya ideal untuk aplikasi lantai farmasi yang tahan bahan kimia meliputi:
- Kelancaran: Menghilangkan retakan dan sambungan di mana mikroba dan kontaminan dapat bersembunyi.
- Ketahanan Kimia yang Luar Biasa: Tahan terhadap paparan bahan pembersih dan disinfektan yang agresif seperti sporisida, alkohol, dan pemutih, yang sangat penting untuk lantai yang sesuai dengan standar FDA.
- Daya tahan: Resistensi tinggi terhadap guncangan termal, benturan mekanis, dan abrasi akibat lalu lintas pejalan kaki dan peralatan, sehingga memperpanjang siklus hidup lantai.
- Fleksibilitas: Memiliki tingkat elastisitas yang memungkinkannya menahan gerakan kecil di bawah lantai tanpa retak, masalah umum dalam memasang lantai poliuretan di atas lempengan beton.
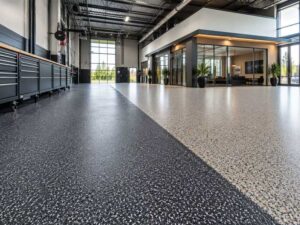
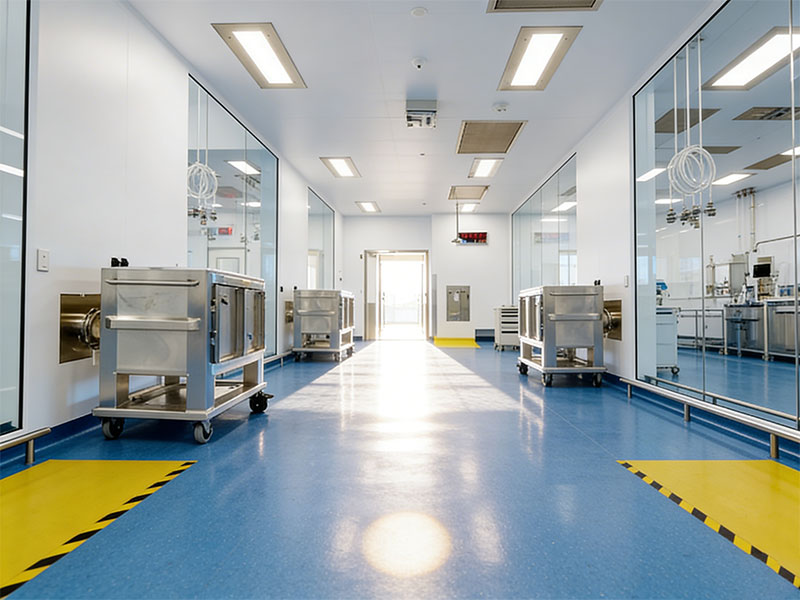
- Kemudahan Kustomisasi: Dapat diformulasikan untuk menyertakan properti lantai ruang bersih anti-statis (ESD) dan dapat diintegrasikan dengan detail dasar teluk yang tidak terpisahkan untuk lingkungan yang sepenuhnya tertutup.
2. Perencanaan dan Kepatuhan Pra-Instalasi: Fondasi Keberhasilan
Sebelum bahan apa pun dituangkan, perencanaan yang komprehensif sangat penting untuk memastikan lantai akhir memenuhi semua persyaratan peraturan dan fungsional. Fase ini menentukan cetak biru untuk pemasangan lantai GMP yang sukses.
- Tentukan Spesifikasi Kebutuhan Pengguna (URS): Mendokumentasikan dengan jelas kebutuhan kinerja: kelas ruang bersih yang diperlukan (ISO 14644-1), paparan bahan kimia tertentu, kekerasan yang diperlukan, daya dukung beban, dan persyaratan ESD.
- Pilih Sistem yang Sesuai:
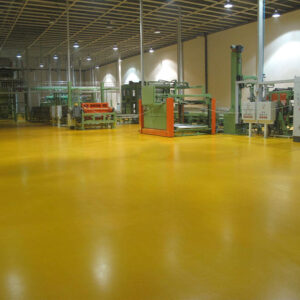
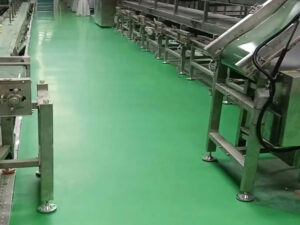
- Lantai Mortar Uretan: Ideal untuk area yang membutuhkan daya tahan dan ketahanan terhadap bahan kimia yang ekstrem, seperti ruang produksi dan koridor lalu lintas yang padat. Bentuknya yang tebal dan trowel-on menangani beban titik dan benturan dengan sangat baik.
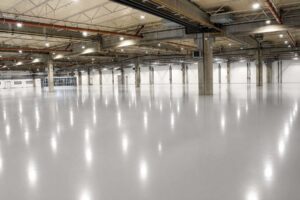
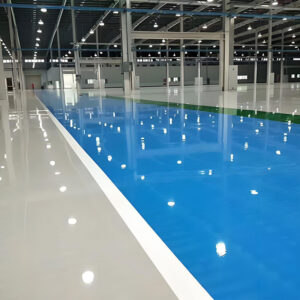
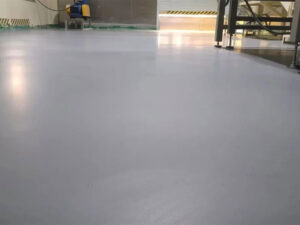
- Lantai Poliuretan yang Dapat Meratakan Sendiri: Terbaik untuk area yang membutuhkan permukaan paling rata dan mulus untuk memudahkan pembersihan dan mobilitas, seperti ruangan ISO Kelas 5 (Kelas A/B) dan area pengisian/pementasan.
- Memastikan Kepatuhan terhadap Peraturan: Desain harus mematuhi persyaratan lantai cGMP, pedoman lantai EU GMP Annex 1 (yang menekankan pembersihan yang mudah dan efektif), dan peraturan lantai ruang bersih lainnya yang relevan.

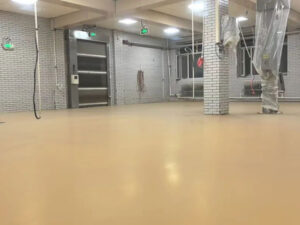
3. Persiapan Subfloor: Langkah Paling Penting
Umur panjang dan kinerja dari setiap lantai ruang bersih poliuretan secara langsung bergantung pada kualitas persiapan lantai dasar. Persiapan yang tidak memadai adalah penyebab utama kegagalan lantai.
- Prinsip: Tujuannya adalah menciptakan substrat yang sehat, bersih, kering, dan diprofilkan untuk memastikan daya rekat mekanis yang maksimal.
- Langkah-langkah yang dapat ditindaklanjuti:
- Kekuatan Permukaan: Pastikan lantai dasar beton memiliki kekuatan tekan minimum 3.000 psi (20 MPa). Beton yang lemah harus dibuang dan diperbaiki.
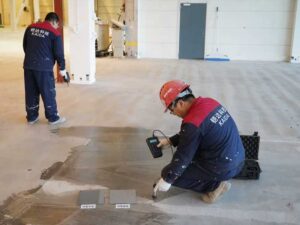
- Pengujian Kelembaban: Gunakan probe kelembaban relatif (RH) sesuai ASTM F2170 untuk memastikan tingkat kelembapan berada dalam batas yang ditetapkan produsen (biasanya ≤75% RH atau ≤4,5% CM). Kelembaban yang tinggi dapat menyebabkan delaminasi.
- Pembuatan Profil Mekanis: Gunakan gerinda berlian atau peledakan untuk membuka pori-pori beton, menghilangkan laitance, dan membuat profil bertekstur agar lapisan dapat mencengkeram.
- Crack Bridging: Atasi semua retakan aktif dengan sealant fleksibel atau primer penghubung retakan tertentu.
- Pembersihan Intensif: Setelah membuat profil, lakukan penyedotan debu secara menyeluruh dengan penyedot debu dengan filter HEPA industri untuk menghilangkan semua debu dan kotoran.
4. Pengendalian Lingkungan dan Proses Instalasi
Mengontrol lingkungan selama pemasangan tidak dapat dinegosiasikan untuk mencapai hasil akhir yang sempurna dan bebas lubang jarum pada lantai poliuretan Anda yang mulus.
- Prinsip: Suhu dan kelembapan yang tidak terkendali dapat menyebabkan pengawetan yang tidak tepat, cacat permukaan, dan kinerja yang terganggu.
- Protokol yang ketat:
- Kontrol Iklim: Pertahankan suhu lingkungan dan media antara 60°F dan 80°F (15°C - 27°C) dengan kelembapan relatif di bawah 65% selama proses pemasangan dan pengawetan.
- Penahanan: Memasang pembatas sementara untuk memisahkan zona konstruksi dari area produksi aktif. Pertahankan tekanan udara positif di dalam zona kerja untuk mencegah kontaminasi.
- Penanganan Material: Simpan semua bahan di tempat pada suhu yang disarankan setidaknya selama 24 jam sebelum digunakan. Campurkan komponen secara ketat sesuai dengan rasio dan petunjuk dari produsen.
Proses instalasi biasanya mengikuti urutan ini:
- Aplikasi Primer: Primer epoksi atau poliuretan berkinerja tinggi diaplikasikan untuk menutup substrat dan meningkatkan daya rekat.
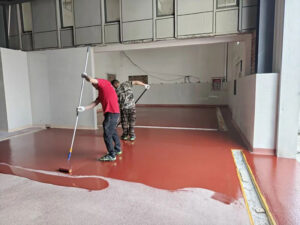
- Lapisan Tubuh/Screed: Untuk lantai mortar uretan, ini adalah lapisan keausan utama, yang disekop dengan ketebalan yang ditentukan. Untuk sistem yang meratakan sendiri, ini adalah lapisan yang dituang.
- Aplikasi Lapisan Atas: Lapisan poliuretan yang tipis, tahan terhadap bahan kimia, dan mudah dibersihkan digulung untuk memberikan sifat permukaan akhir.
- Formasi Dasar Teluk: Dengan menggunakan alat khusus, dasar teluk yang tidak terpisahkan dibentuk pada semua persimpangan dinding ke lantai, biasanya dengan radius minimum 2 inci (50mm).
5. Pemilihan Sistem: Mortar Uretan vs Poliuretan yang Meratakan Sendiri
Memilih sistem yang tepat sangat penting untuk mencocokkan kinerja lantai dengan kebutuhan spesifik zona dalam fasilitas farmasi.
Perbandingan Mortar Uretan dan Sistem Lantai Poliuretan yang Dapat Meratakan Sendiri
| Fitur | Mortar Uretan | Poliuretan yang Dapat Meratakan Sendiri |
|---|---|---|
| Terbaik untuk | Lalu lintas tinggi, beban berat, area basah, lantai produksi | Kebersihan tertinggi, ruang pengisian, area pengemasan |
| Ketebalan | 1/4″ hingga 3/8″ (6mm - 10mm) | 1/8″ hingga 1/4″ (3mm - 6mm) |
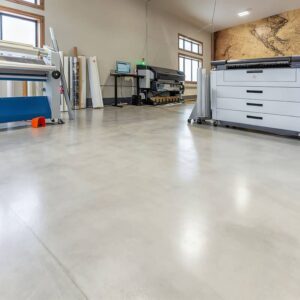
| Profil Permukaan | Sedikit bertekstur dari sekop | Sangat halus dan mulus |
| Resistensi Kimia | Sangat baik hingga ekstrem | Luar biasa |
| Keuntungan Utama | Tahan benturan dan guncangan termal yang unggul | Permukaan yang sangat halus dan bebas sambungan untuk kebersihan yang optimal |
6. Validasi dan Jaminan Kualitas Akhir
Setelah dipasang, lantai harus divalidasi untuk memastikan lantai memenuhi semua spesifikasi proyek dan peraturan lantai ruang bersih.
- Prinsip: Verifikasi melalui pengujian standar memberikan bukti terdokumentasi tentang pemasangan yang benar.
- Tes Kunci:
- Kekuatan Ikatan Perekat (ASTM D4541): Uji tarik memastikan bahwa lapisan telah terikat dengan baik ke substrat. Nilai yang dihasilkan harus melebihi kekuatan tarik beton (misalnya, >200 psi atau 1,4 MPa). [Sumber: ASTM International]
- Tahanan Permukaan (ASTM F150): Untuk lantai ruang bersih anti-statis, pengujian ini memverifikasi resistansi permukaan dalam kisaran yang ditentukan (misalnya, 10^5 hingga 10^9 ohm/sq untuk sifat statis-disipatif).
- Inspeksi Visual: Seluruh permukaan diperiksa untuk mengetahui adanya cacat, seperti lubang kecil, lecet, inklusi kotoran, atau ketidakkonsistenan warna.
- Dokumentasi: Semua hasil pengujian, lembar data material, dan catatan instalasi dikompilasi ke dalam paket pergantian untuk tim jaminan kualitas fasilitas.
Bermitra dengan Pakar Tepercaya dalam Lantai Farmasi
Menghadapi kompleksitas lantai ruang bersih farmasi membutuhkan lebih dari sekadar bahan berkualitas-ini membutuhkan mitra dengan keahlian yang telah terbukti. Di KAIDA PAINT, kami telah mendedikasikan lebih dari dua dekade untuk menyempurnakan solusi polimer berkinerja tinggi untuk lingkungan yang kritis. Sistem KDP-Urethane MT kami adalah bukti dari komitmen ini, yang dirancang untuk memberikan daya tahan yang tak tertandingi, ketahanan terhadap bahan kimia, dan nilai jangka panjang dalam pengaturan GMP yang paling berat. Kami mendukung proyek Anda mulai dari spesifikasi awal dan panduan persiapan subfloor lantai hingga validasi kinerja akhir, memastikan hasil yang mulus, patuh, dan sukses.
Jangan berkompromi dengan fondasi fasilitas Anda. Hubungi ahli lantai KAIDA PAINT hari ini untuk konsultasi rahasia dan temukan bagaimana sistem kami dapat memenuhi tantangan spesifik Anda.

Lantai Poliuretan untuk Farmasi: Solusi Tahan Lama dan Sesuai GMP untuk Ruang Bersih