Les meilleures pratiques pour l'installation d'un revêtement de sol en polyuréthane dans une salle blanche pharmaceutique impliquent un processus rigoureux en plusieurs phases visant à obtenir une surface sans joint, durable et conforme, capable de résister à l'exposition aux produits chimiques, de faciliter le nettoyage et de maintenir des normes de propreté strictes conformément aux réglementations de la FDA, des BPF de l'UE et de l'ISO 14644. Cela implique une préparation méticuleuse du support, un contrôle environnemental strict, l'application de systèmes spécialisés sans joints tels que le mortier d'uréthane ou les polyuréthanes autolissants, et la validation finale des performances par des tests d'adhérence et de conductivité. Ce guide détaille les étapes critiques, de la planification initiale et de la préparation du sous-plancher pour les salles blanches à l'installation et à la validation finales des revêtements de sol BPF, afin de garantir la réussite de tout projet de revêtement de sol de salle blanche pharmaceutique.
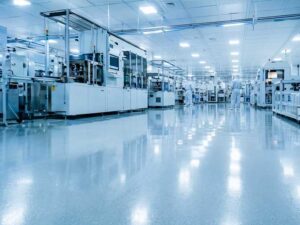
1. Pourquoi le polyuréthane est-il le choix privilégié pour les revêtements de sol des salles blanches pharmaceutiques ?
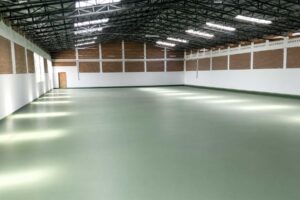
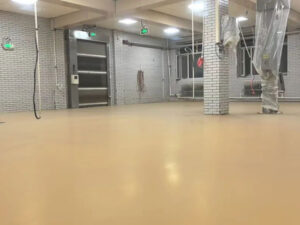
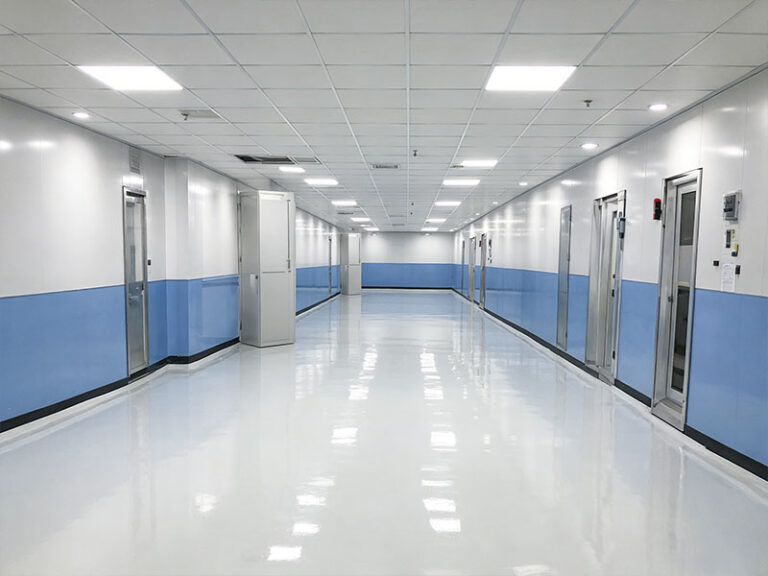
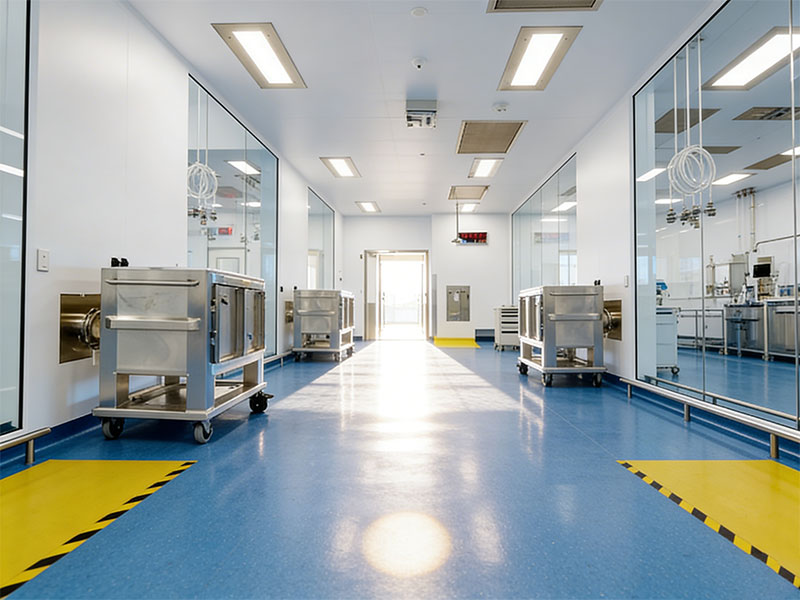
Les systèmes de revêtement de sol en polyuréthane offrent une combinaison unique de propriétés qui s'adaptent parfaitement à l'environnement exigeant d'une salle blanche pharmaceutique. Contrairement à d'autres matériaux, le polyuréthane offre une surface monolithique (sans joint) qui est intrinsèquement hygiénique et facile à nettoyer. Les principaux avantages qui le rendent idéal pour les applications de sols pharmaceutiques résistants aux produits chimiques sont les suivants :
- Sans couture : Élimine les fissures et les joints où les microbes et les contaminants peuvent se cacher.
- Résistance chimique exceptionnelle : Résiste à une exposition fréquente aux agents de nettoyage et désinfectants agressifs tels que les sporicides, les alcools et l'eau de Javel, ce qui est essentiel pour les revêtements de sol conformes aux normes de la FDA.
- Durabilité : Haute résistance aux chocs thermiques, aux impacts mécaniques et à l'abrasion due au trafic piétonnier et matériel, ce qui prolonge le cycle de vie du sol.
- Flexibilité : Possède un degré d'élasticité qui lui permet de résister à des mouvements mineurs du sol sans se fissurer, un problème courant lors de la pose de revêtements de sol en polyuréthane sur des dalles en béton.
- Facilité de personnalisation : Il peut être formulé pour inclure des propriétés antistatiques de sol de salle blanche (ESD) et peut être intégré avec des détails de base à gorge intégrale pour un environnement entièrement scellé.
2. Planification et conformité avant l'installation : Les fondements de la réussite
Avant de couler tout matériau, une planification complète est essentielle pour garantir que le sol final répond à toutes les exigences réglementaires et fonctionnelles. Cette phase est le point de départ d'une installation de revêtement de sol GMP réussie.
- Définir les spécifications des besoins des utilisateurs (URS) : Documenter clairement les besoins en matière de performances : classe de salle blanche requise (ISO 14644-1), expositions chimiques spécifiques, dureté requise, capacité de charge et exigences en matière d'ESD.
- Sélectionner le système approprié :
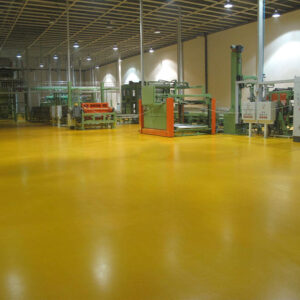
- Mortier d'uréthane Revêtement de sol : Idéal pour les zones nécessitant une durabilité extrême et une résistance aux produits chimiques, telles que les salles de production et les couloirs à forte circulation. Sa structure épaisse, appliquée à la truelle, résiste exceptionnellement bien aux charges ponctuelles et aux impacts.
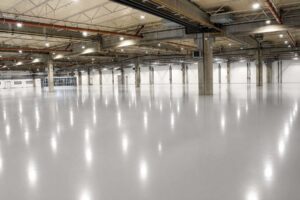
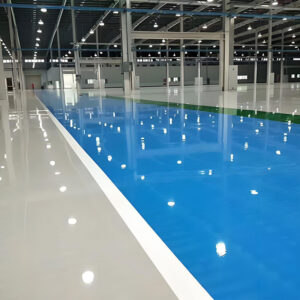
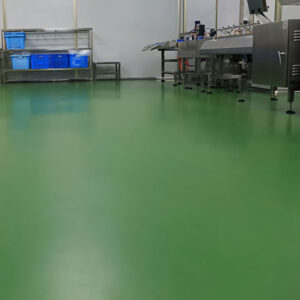
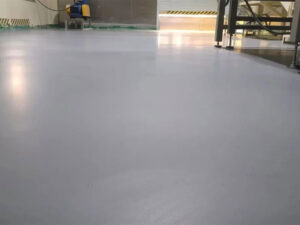
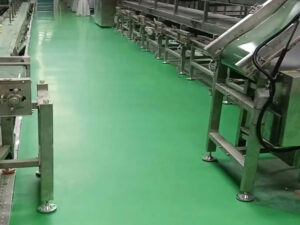
- Revêtement de sol en polyuréthane autonivelant : Idéal pour les zones nécessitant la surface la plus plate et la plus homogène pour faciliter le nettoyage et la mobilité, telles que les salles de classe ISO 5 (Grade A/B) et les zones de remplissage/étape.
- Assurer la conformité réglementaire : La conception doit être conforme aux exigences des BPF, aux directives de l'annexe 1 des BPF de l'UE (qui mettent l'accent sur la facilité et l'efficacité du nettoyage) et à d'autres réglementations pertinentes relatives aux sols des salles blanches.

3. Préparation du support : L'étape la plus critique
La longévité et la performance de tout revêtement de sol en polyuréthane pour salles blanches dépendent directement de la qualité de la préparation du support. Une préparation inadéquate est la première cause de défaillance des revêtements de sol.
- Principe : L'objectif est de créer un support sain, propre, sec et profilé afin de garantir une adhérence mécanique maximale.
- Mesures à prendre :
- Résistance de la surface : Vérifiez que la chape de béton a une résistance à la compression d'au moins 20 MPa (3 000 psi). Le béton affaibli doit être enlevé et réparé.
- Test d'humidité : Utilisez une sonde d'humidité relative (HR) conforme à la norme ASTM F2170 pour vous assurer que les niveaux d'humidité se situent dans les limites fixées par le fabricant (généralement ≤75% HR ou ≤4,5% CM). Un taux d'humidité élevé peut entraîner une délamination.
- Profilage mécanique : Le ponçage au diamant ou le grenaillage permet d'ouvrir les pores du béton, d'éliminer la laitance et de créer un profil texturé sur lequel le revêtement pourra s'accrocher.
- Pontage des fissures : Traiter toutes les fissures actives à l'aide d'un produit d'étanchéité souple ou d'un apprêt spécifié pour le pontage des fissures.
- Nettoyage intensif : Après le profilage, passez l'aspirateur avec un filtre industriel HEPA pour enlever toute la poussière et les débris.
4. Contrôle environnemental et processus d'installation
Le contrôle de l'environnement pendant la pose n'est pas négociable pour obtenir une finition impeccable, sans trou d'épingle, de vos sols en polyuréthane sans joint.
- Principe : Une température et une humidité non contrôlées peuvent entraîner un mauvais durcissement, des défauts de surface et des performances compromises.
- Protocoles stricts :
- Contrôle de la température : Maintenir la température ambiante et celle du support entre 15°C et 27°C (60°F et 80°F) avec une humidité relative inférieure à 65% pendant toute la durée de l'installation et de la polymérisation.
- Confinement : Ériger des barrières temporaires pour séparer la zone de construction des zones de production actives. Maintenir une pression d'air positive dans la zone de travail afin d'éviter toute contamination.
- Manutention des matériaux : Stocker tous les matériaux sur place à la température recommandée pendant au moins 24 heures avant utilisation. Mélanger les composants en respectant scrupuleusement les ratios et les instructions du fabricant.
Le processus d'installation suit généralement la séquence suivante :
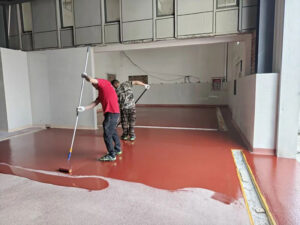
- Application de l'apprêt : Un apprêt époxy ou polyuréthane haute performance est appliqué pour sceller le substrat et améliorer l'adhérence.
- Couche du corps/trame : Pour les revêtements de sol en mortier d'uréthane, il s'agit de la couche d'usure principale, appliquée à la truelle à l'épaisseur spécifiée. Pour les systèmes autolissants, il s'agit de la couche coulée.
- Application de la couche de finition : Une fine couche de finition en polyuréthane, chimiquement résistante et facile à nettoyer, est appliquée au rouleau pour obtenir les propriétés finales de la surface.
- Formation de la base de l'anse : À l'aide d'un outil spécialisé, la base intégrale de la gorge est formée à toutes les jonctions mur-plancher, généralement avec un rayon minimum de 50 mm.
5. Choix du système : Mortier d'uréthane ou polyuréthane autonivelant
Le choix du bon système est crucial pour adapter les performances du sol aux exigences spécifiques de la zone dans une installation pharmaceutique.
Comparaison des systèmes de revêtement de sol en mortier d'uréthane et en polyuréthane autonivelant
| Fonctionnalité | Mortier d'uréthane | Polyuréthane auto-nivelant |
|---|---|---|
| Meilleur pour | Trafic élevé, charges lourdes, zones humides, sols de production | Propreté maximale, salles de remplissage, zones d'emballage |
| Épaisseur | 1/4″ à 3/8″ (6mm - 10mm) | 1/8″ à 1/4″ (3mm - 6mm) |
| Profil de surface | Légèrement texturé à la truelle | Parfaitement lisse et sans couture |
| Résistance chimique | Excellente à extrême | Excellent |
| Avantage principal | Résistance supérieure aux impacts et aux chocs thermiques | Surface ultra-lisse, sans joints, pour un nettoyage optimal |
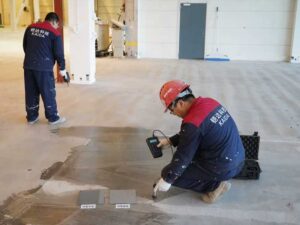
6. Validation et assurance qualité finale
Une fois installé, le sol doit être validé pour s'assurer qu'il répond à toutes les spécifications du projet et aux réglementations relatives aux sols des salles blanches.
- Principe : La vérification par des essais normalisés fournit des preuves documentées d'une installation correcte.
- Tests clés :
- Force d'adhérence de l'adhésif (ASTM D4541) : Un essai d'arrachement confirme que le revêtement est correctement collé au substrat. Les valeurs doivent être supérieures à la résistance à la traction du béton (par exemple, >200 psi ou 1,4 MPa). [Source : ASTM International]
- Résistivité de surface (ASTM F150) : Pour les revêtements de sol antistatiques pour salles blanches, ce test permet de vérifier que la résistance de la surface se situe dans la plage spécifiée (par exemple, 10^5 à 10^9 ohms/sq pour les propriétés de dissipation de l'électricité statique).
- Inspection visuelle : La surface entière est inspectée pour détecter les défauts tels que les trous d'épingle, les cloques, les inclusions de saleté ou les incohérences de couleur.
- Documentation : Tous les résultats des essais, les fiches techniques des matériaux et les dossiers d'installation sont compilés dans un dossier de renouvellement destiné à l'équipe d'assurance qualité de l'établissement.
Partenaire d'un expert de confiance en matière de financement pharmaceutique
Naviguer dans les complexités des sols des salles blanches pharmaceutiques exige plus que des matériaux de qualité - il faut un partenaire à l'expertise éprouvée. Chez KAIDA PAINT, nous avons consacré plus de deux décennies à la mise au point de solutions polymères de haute performance pour les environnements critiques. Notre système KDP-Uréthane MT témoigne de cet engagement, conçu pour offrir une durabilité, une résistance chimique et une valeur à long terme inégalées dans les environnements GMP les plus exigeants. Nous soutenons votre projet depuis les spécifications initiales et les conseils de préparation du sous-plancher jusqu'à la validation finale des performances, en garantissant un résultat transparent, conforme et réussi.
Ne faites pas de compromis sur les fondations de votre établissement. Contactez dès aujourd'hui un expert en revêtements de sol de KAIDA PAINT pour une consultation confidentielle et découvrez comment nos systèmes peuvent répondre à vos défis spécifiques.