1. Introdução aos pavimentos em epóxi
O que é o pavimento epóxi?
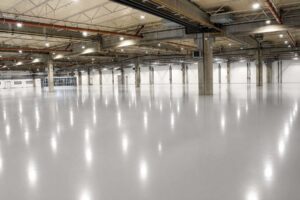
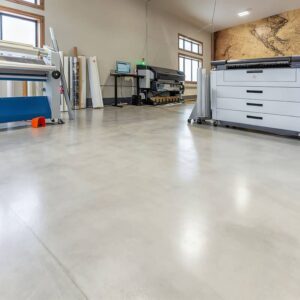
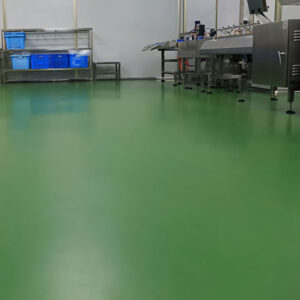
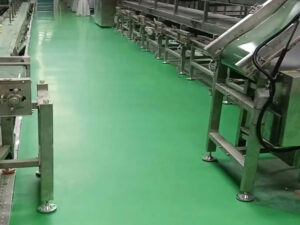
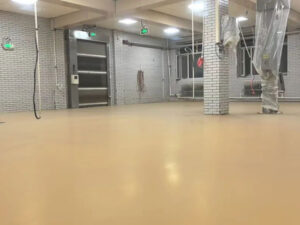
Pavimento epóxi é um revestimento durável e de alto desempenho feito através da mistura de resina epóxi com um agente endurecedor. É muito utilizado em garagens, armazéns, fábricas e espaços comerciais devido à sua excecional durabilidade, resistência química e acabamento brilhante.
Porquê escolher o pavimento epóxi?
- Durabilidade extrema - Resiste à maquinaria pesada e ao tráfego de veículos.
- Resistência química e a manchas - Protege contra o óleo, os ácidos e a humidade.
- Fácil de limpar - A superfície lisa e sem costuras evita a acumulação de sujidade.
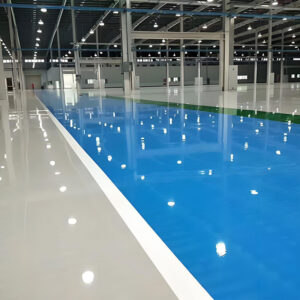
- Apelo estético - Cores personalizáveis, efeitos metálicos e flocos decorativos.
Onde é utilizado o pavimento epóxi?
- Pavimentos de garagem - Resiste às manchas de óleo e aos impactos.
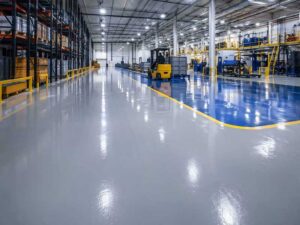
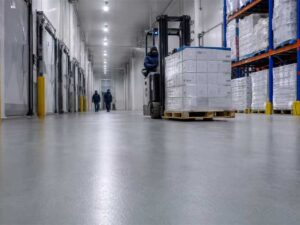
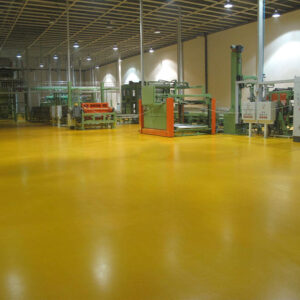
- Instalações industriais - Manuseamento de equipamento pesado e empilhadores.
- Armazéns - Proporciona uma superfície à prova de pó e de fácil manutenção.
- Retalho e showrooms - Melhora o aspeto visual com acabamentos de alto brilho.
2. Lista de controlo pré-instalação
Ferramentas e materiais necessários
| Item | Objetivo |
|---|---|
| Kit de revestimento epóxi (primário, camada de base, camada superior) | Material principal do pavimento |
| Endurecedor | Ativa a resina epoxi |
| Lixadora de betão/solução de gravação | Prepara a superfície |
| Aspirador/vassoura | Limpa o pó e os detritos |
| Rolo de pintura/rolo de lâmina | Aplica o epóxi uniformemente |
| Equipamento de segurança (luvas, máscara) | Protege durante a aplicação |
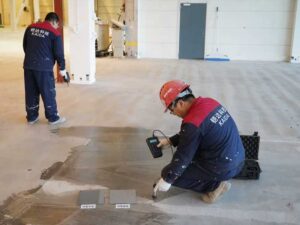
Preparação da superfície (passo mais importante!)
① Limpar bem o chão
- Remova o óleo, a gordura e os revestimentos antigos (se existirem).
- Utilize um desengordurante e uma máquina de lavar a pressão para uma limpeza profunda.
② Reparar fissuras e imperfeições
- Preencher as fissuras com massa de enchimento epóxi ou massa de remendo de cimento.
- Esmerilhe as áreas irregulares para obter uma base lisa.
③ Gravar ou lixar o betão
- Gravura ácida: Aplicar ácido muriático diluído (respeitar as diretrizes de segurança), esfregar e depois enxaguar.
- Retificação mecânica: Utilizar uma mó de diamante para uma melhor aderência.
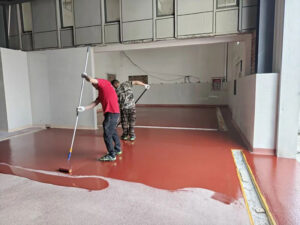
3. Aplicação passo a passo do pavimento epóxi
Passo 1: Aplicar o primário epóxi
- Objetivo: Assegura uma forte ligação ao betão.
- Como candidatar-se:
- Misturar o primário e o endurecedor como indicado.
- Estender uniformemente sobre o pavimento, evitando as poças.
- Deixar secar durante 8-12 horas (dependendo da humidade).
Etapa 2: Aplicar a camada de base (opcional em função da espessura)
- Quando necessário: Para superfícies irregulares ou maior durabilidade.
- Sugestões de aplicação:
- Misturar a camada de base epoxídica e adicionar areia de quartzo para reforçar.
- Espalhar com um rodo para obter uma espessura uniforme.
- Lixar ligeiramente após a cura para remover as imperfeições.
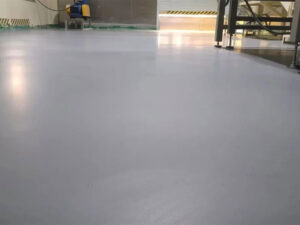
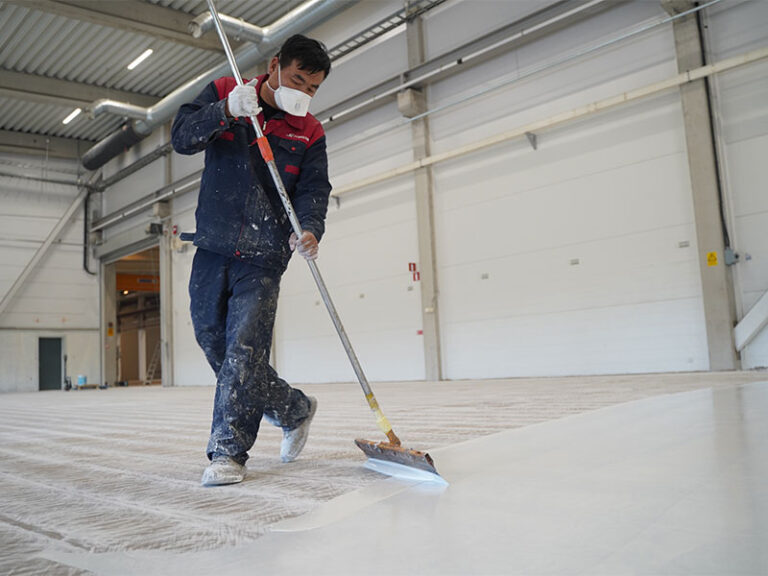
Passo 3: Instalar o revestimento de epóxi
- Opções: Epóxi autonivelante ou acabamento em rolo.
- Melhores práticas:
- Misturar o acabamento e o endurecedor lentamente para evitar a formação de bolhas.
- Utilizar um rolo de alta qualidade para uma aplicação suave.
- Adicionar flocos decorativos ou pigmentos metálicos (opcional).
Etapa 4: Cura e cuidados finais
- Tempo de secagem:
- Pode ser percorrido a pé em 6-8 horas.
- Totalmente curado em 7 dias (pronto para o veículo).
- Conselhos de manutenção:
- Evitar a exposição à água/químicos na primeira semana.
- Reaplicar um acabamento transparente de poucos em poucos anos para uma maior longevidade.
4. Dicas profissionais para um pavimento epóxi perfeito
① Controlo da temperatura e humidade
- Condições ideais: 15-25°C (60-80°F), humidade inferior a 85%.
② Evitar erros comuns
- Mistura deficiente → Cura irregular.
- Tempo de secagem apressado → Adesão fraca.
- Saltar o trabalho de preparação → Descascar/escamar mais tarde.
③ Como fazer com que o piso de epóxi dure mais tempo
- Utilizar tapetes por baixo de equipamento pesado.
- Limpar com produtos de limpeza de pH neutro.
5. Perguntas frequentes (FAQ)
P1: Posso aplicar eu próprio o pavimento epóxi?
✅ Simmas siga as instruções cuidadosamente - comece com uma pequena área primeiro.
P2: Quanto tempo dura o pavimento em epóxi?
⏳ 10-15 anos, consoante a manutenção.
P3: É possível aplicar epóxi sobre um pavimento antigo?
⚠️ NãoA preparação correta da superfície é obrigatória para a aderência.
Q4: O que é o pavimento aplicado com fluido?
Pavimentos aplicados com fluido refere-se a sistemas de pavimentos sem costuras em que os materiais líquidos (epóxi, poliuretano ou MMA) são vertidos ou revestidos numa superfície e depois curados para formar uma camada monolítica duradoura. As principais caraterísticas incluem:
- Sem costuras (ideal para áreas higiénicas ou de tráfego intenso).
- Resistência química e à abrasão (comum em fábricas, garagens).
- Instalação rápida (alguns tipos curam em 2-4 horas).
- Personalizável (cores, texturas, aditivos antiderrapantes).
Melhor para: Instalações industriais, hospitais, espaços comerciais e garagens.
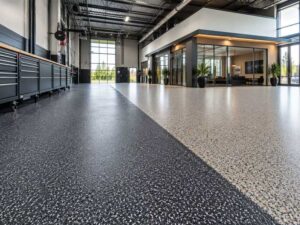
Q5: Como aplicar o pavimento em flocos de epóxi?
Guia passo a passo:
- Preparar o chão:
- Limpar cuidadosamente (desengordurar, gravar o betão).
- Reparar as fissuras/furos com massa epóxi.
- Aplicar a camada de base:
- Aplicar o epóxi sólido 100% (cobrir uniformemente a superfície).
- Flocos de difusão:
- Polvilhar imediatamente flocos coloridos (à mão ou com um espalhador mecânico) a 0,5-1 lb/pé quadrado.
- Verniz transparente:
- Após 12-24 horas, aplicar um revestimento de poliuretano/poliaspártico para proteção.
- Cura: Aguardar mais de 24 horas antes de uma utilização ligeira; 7 dias para tráfego intenso.
Dica profissional: Para obter um aspeto de flocos mais denso, aplique uma segunda camada de epóxi antes de cobrir.
Q6: É possível aplicar epóxi sobre tinta?
Sim, mas só se:
A tinta é totalmente aderente (sem descascar).
É tinta acrílica ou à base de epóxi (a tinta à base de óleo pode rejeitar o epoxi).
Tu preparar corretamente a superfície:
- Lixar a pintura (para aderência).
- Limpar com TSP ou desengordurante.
- Teste de aderência (teste de tração da fita).
Aviso: Evite aplicar epóxi sobre tinta de látex - é demasiado flexível e pode delaminar.
Q7: Quanto tempo dura o pavimento de epóxi em flocos?
Residencial (garagens): 10-15 anos com uma manutenção adequada.
Comercial/Industrial: 5-10 anos (maior desgaste).
Prolongar o tempo de vida:
Utilizar revestimentos resistentes aos raios UV (para áreas exteriores/expostas ao sol).
Evitar produtos químicos agressivos (utilizar produtos de limpeza com pH neutro).
Reaplicar o acabamento a cada 3-5 anos.
6. Conclusão
Aprendizagem como aplicar um pavimento em epoxi garante corretamente um acabamento profissional de longa duração. Principais conclusões:
- O trabalho de preparação é fundamental-limpar, reparar e gravar o pavimento.
- Aplicar as camadas uniformemente-Evitar bolhas e estrias.
- Permitir uma cura adequada-não apressar o processo de secagem.
Para projectos de grande escala, considere contratar um profissional de pavimentos em epóxi.